 Last week I showed you how to promote your Facebook group. By now I hope you’ve managed to it well beyond 10 members at least.
If not, you can skip this tutorial and try reading our other articles on promotion. I’m sure you’ll find useful marketing tips there that can also be applied to promoting an online community.
If you have more than 10 members though, this post is for you. I’m going to show you easy ways of managing a Facebook group with a low-budget.
Yes, I admit 10 members is nothing close to a hundred, or even a thousand members. But it’s better if you start managing your community early.
A Facebook group is only as good as its leader, after all, so it’s up to you to dictate the direction of your group—whether you want it to be an active and growing community, or one full of ads and spam with the occasional useful post thrown in.
5 Tips for Managing a Facebook Group without Going Insane
1. Assign an Admin
You can run a Facebook group on your own when you’re just starting out. But you might need some help once your group membership reaches over a hundred.
Answering questions, initiating conversations, approving membership requests, commenting on threads, and promoting your group can be a huge time drain. Yes, these activities will build your authority and personal network, but it’s time consuming to do it on your own.
While large groups tend to be self-sustaining, content or post wise, you still have to approve memberships, weed out spam, and mediate between members to avoid arguments. The more members you have, the more time you’ll have to spend on the group to keep it running.
Since the group isn’t your main business or source of income, it might be better to look for someone you can trust then assign them as admin. This way, you can focus on more important tasks for your business, and just occasionally drop by and interact with the group.
How to Select an Admin:
You can create your own criteria of who your ideal admin is, but in general you should pick someone who is:
- Available frequently to participate and do admin tasks
- Accept other people’s opinion
- Has good communication skills
Introduce your chosen admin to the group, so other members know that it’s official and this person isn’t just calling the shots without your authorization.
You can also decide how much power or authority your admin has over the group. For some groups, admins have the same power as the group’s founder, in other groups; they’re only in charge of moderating comments and removing spam.
If you ever have a disagreement with admin about handling of certain posts, keep it between the two of you. You don’t want your group members to witness any drama between you two.
2. Write Clear Group Guidelines and Pin Them
Like peaceful neighborhoods, Facebook groups also need rules to maintain order.
In real life towns, these rules are local laws. While rules in your Facebook group aren’t legally binding, you are free to enforce them as you see fit because you’re the group’s owner. After all, fair Facebook group rules exist for the members’ protection—to keep the conversation flowing, while minimizing spam and member disagreements.
Set clear guidelines so group members can reference them if they’re not sure if what they’re about to post is allowed.
Include the following in your group guidelines:
- Whether new members are expected to introduce themselves
- How group members are supposed to interact
- Whether self-promotion of blog posts, products, or services are allowed
- Types of posts or questions that are allowed
- Who are the group admins and what they’re allowed to do
- Information about group resources, such as articles, videos, and e-books you or other members have uploaded in the files section of the group.
- Reasons for a post to be deleted
- Reasons for a member to be blocked
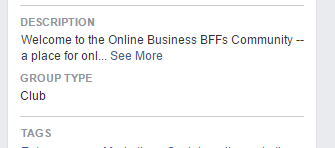
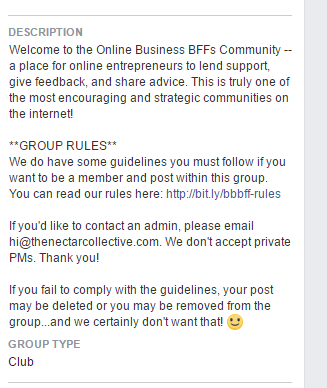
Since the group’s description is often cut off, it’s better to create the group guidelines as document in the files section of the group, then pin it as a post.
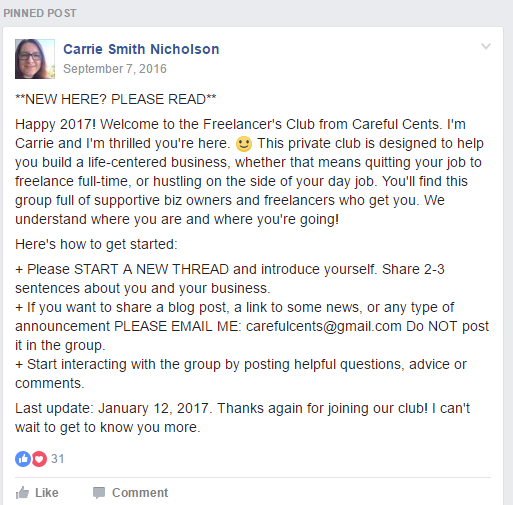
Alternatively, you can also write it as a post, then just pin it so all members see it at the top of the group.
3. Encourage Conversation using Theme Days
There’s a reason theme days like #MotivationMondays and #ThrowbackThursdays became a hit. They make posting on social media fun, personal, and best of all, they take the pressure of coming up with something unique to post.
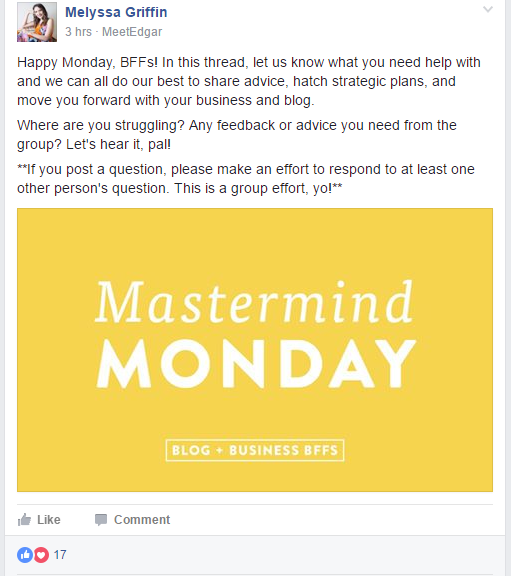
You can use popular theme days, or create some for your group. You don’t need to have a theme day for every day of the week though. So don’t worry about creating seven themes. Start with one or two themes to encourage participation and give your group’s conversation some structure.
Here’s an example of a unique theme day from Melyssa Griffin of Online Business Bffs:
4. Intervene on Heated Discussions Early
If you see a post or thread that’s causing tension between members, mediate early before it gets worse. Don’t let it run for 100 or so comments expecting members can find it in themselves to agree to disagree.
The thread will just heat up more and more as people take sides, and disagree with each other. Even if some conversations start out politely, it could turn ugly once someone feels offended.
You can be firm in closing conversation threads without sounding like a dictator. For instance, instead of just writing “I’m closing this thread” or “I’m not allowing further comments,” you can write “I think everyone has made their opinions clear on this one. Let’s leave it at that.” This way, members will see that you’re exerting you authority as the group owner or admin, without taking sides.
If the thread is too offensive, or if it violates your group’s guidelines, you can delete it then post an explanation of what happened to it.
5. Be Vigilant in the Fight Against Spam
Spam can kill your efforts in promoting a Facebook group. I’ve seen Facebook Groups that have nothing but posts from members promoting their own articles.
The result?
It’s a sad and lonely Facebook group where people hardly talk to each other except for business purposes.
There’s no community, friendship, accountability, or even friendly networking. It’s all about making a sale.
Of course, making a sale is also good but if everyone else is promoting themselves, it’s hard to stand out. That’s not the kind of community you want to build.
Because the group you created is closed, spammers shouldn’t be able to post there without your permission. A spammy post will slip through occasionally though. Some of these posts might even come from members who didn’t know about your rules regarding self-promotion.
If that’s the case, delete the post then send a direct message to the offending member to explain why your decision. You can also point them to the group’s guidelines in the pinned post, or in your group description.
Worst Case Scenario: Removing a Member from the Group
I hope you won’t have to do this, but I also hope you’ll have the strength to do it if it needs to be done.
Remove group members who continue to violate your guidelines, despite several warnings. You might feel bad about removing them because you’ve worked so hard to get new members. But not doing so might cost you even more members.
If you do remove or block someone from the group, you have to explain it in a post afterwards to let other members know what happened. This is important, especially if the person you removed was an active part of the group. Explaining your decision in public will let other members know that you gave fair warning to the offending member, but you’re also not afraid to ban people if needed.
